Good Morning!
This morning I finished up a pillow for the patio. I wanted to take some outdoor pictures but it's another really wet, foggy, chilly day. So, I had to be happy with indoor photos.
The pillows I'm working on all have some turquoise in them and this is the first. In the photos, the bird looks like a completely different tone of blue than the background fabric - but in real life the fabric color and the bird color are a perfect match. So, keep that in mind . . .
I've only done freezer paper stencils a couple times, but every time I do it I am reminded of how great this method works! It's so amazing and fun to do! Many of you have used this method often, but for those of you have not, you should really give it a try. It is so easy - a child could do it! And the results are perfect every time!
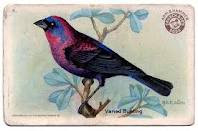
To begin with, I took this vintage bird graphic from the Graphics Fairy and traced the outer shape of it onto my freezer paper.
After tracing, you just very carefully cut out the image. Every little mistaken cut will show up when you stencil, so you want to cut it out carefully.
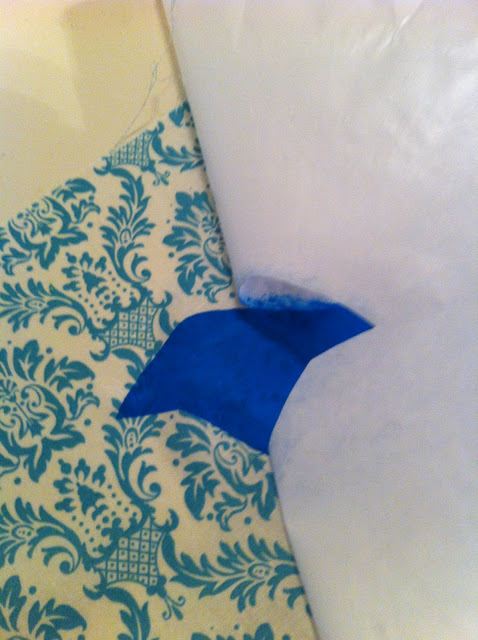
Then put the waxy side of the freezer paper down on the fabric and iron it on. I use the highest setting (no steam) to iron it onto the fabric. Make sure all the cut edges are firmly attached to the fabric so that paint doesn't seep underneath. Also, if you look at the bottom of the picture you can see that, along with the general shape of the bird, I also cut out the little space between the birds legs as he's standing on the branch. Just position it correctly and iron it on too.
Since, I won't be using this stencil again, I mix my paint right on the freezer paper off to the side of the bird. But I've read that you can use these stencils over and over before the waxiness of the freezer paper finally goes away.
To get a nice clean line, make sure you get right up to the edge of the freezer paper. Don't use big globs of paint on the brush - just keep loading and then painting the fabric with a straight up-and-down motion until the cut-out area is covered. When the paint dries it becomes even more opaque.
(Also, it's worth it to buy a good, flat-topped stencil brush. You'll get much more even results.)
Here comes the fun part! Just grab a corner of the freezer paper and pull it away from the fabric. It works beautifully every time!
You also get really crisp, clean edges!
After the paint dries, iron the stencil with a hot, dry iron - to set the paint.
My pillow has a simple envelope closure in the back.
As soon as the sun comes out, I'll have to hose off the patio and put the pillow in it's outdoor spot!
Sharing on:


9 comments:
Thanks for sharing all your wonderful ideas. Lots of love from South Africa.
Oh how nice! I think I might try that on a pillow cover I already have :) Thanks for the idea!
Susan
Can't wait to try this!
That is simply gorgeous, Nan! Love the turquoise. I must try it, however, I'm not sure if the paper I get here is the same.
We get baking paper (not waxy at all), and then we get 'wax paper'. This has a waxy surface on one side. Do you think it could be that? I guess there's only one way to find out LOL!.....
What a fun idea.Love that blue bird!
I love this Nan, thanks for sharing. Our stores do not stock freezer paper, only wax paper. Not sure if its the same thing, but I will give it a try with some off cut fabric.
Maybe I'll get lucky :o)
Your pilow is fabulous! I had never heard of the technique you used. Will have to give it a try. Thanks for sharing!
So pretty!
Love this! Wonderful colour and fabric too. I must make a crow pillow; thanks for the inspiration! :)
Post a Comment