Friday, February 3, 2012

IT'S INSPIRATION FILE FRIDAY!

I was digging around today.  Doing lots of sorting, and pulling, and pitching.  In my stack of favorite pictures torn from magazines, I found a few to share.  Some go back to 2003.   The names of the magazines have been carelessly torn away, but I know that Country Home and Martha Stewart deserve a lot of the credit.   Here are ten of my favorites from the pile.


A great little tub caddie.  It would be so simple to make!
 These would be good for organizing supplies in my work room.  Just old tin cans with wire handles attached and some colorful labels from the Graphics Fairy.
Several years ago I was inspired by this photo.  I still love it!  I painted an antique commode a similar color and I vowed to someday do a painting like the one above it.  It's unexpected and whimsical - and I love it! 
 A pretty table setting for an Easter or May Day table.
 What looks like an old ledger is really a plate!  And the clock is a plate!  And the bookplate is a plate!  Wouldn't it be easy to take some great graphics from the Graphics Fairy and apply them to the back of a smooth glass platter or plate?  I'd like to make a bunch of those clocks and have a New Year's Eve dinner party!  I have to try this!
 I just like this.  That's all.
 This trellis is made from "rebar" or reinforcement bar - used for reinforcing concrete and masonry structures.  So it's strong stuff.  Probably a little hard to bend on my own . . . but I can think of a few friends who might be willing to help me coax some of this into an arbor . . . one in particular . . .
 THIS I could make!  What a great accent in a garden!  
 This would be a fun project.  I'd paint the wood and distress it.  And use a different fabric to cover it.  But I love the deep tufting and the nailhead trim.  I could do that.
 And totally changing gears . . . little tooth fairy pillows from Martha Stewart!  And the "Counting Sheep Pillow" in the background.  This would be a good project for a get-together of grandmas!  Just look at those stitched feet on the bears and the molars on the pockets!  
So, those are just some of the ideas that are floating around in my head tonight.

There just aren't enough hours in the day.  I thought when I retired from teaching I'd have all the time I'd ever need.

Not so.  

I need longer days.


Thursday, February 2, 2012

JAN AND BOB'S "GARDEN" IN MCKINNEY

Last year I did some posts on all the renovations at Jan and Bob's house in McKinney, Texas.  This time I have photos of their finished landscaping project.  I'm sure when spring blooms in McKinney, these shrubs and trees are going to fill out beautifully and it will look like a true Eden!

So, here's a walk through the garden with their dog, Molly!
I could hear this fountain bubbling away at night through the open window.  Beautiful!
This is the entry to the breakfast room.
 A view from the front patio.
Coming from Wisconsin in January, the green grass sure looked good.
 Molly loves the yard!  She wanders around all day - always with some little stuffed animal or toy hanging from her mouth. 
 The last photo is a whimsical one.  Tigger, the family cat, is a little camera shy - but how many cats do you know who have their owners build them a warm little cave to retreat to after their night-time wanderings?  And if you look at the bottom of the quilt, you can see a cord coming out of the cave - that's right - this little nest even has a heating pad!!!  
I'm not the only one who is pampered at the Barstads!


Wednesday, February 1, 2012

VINTAGE PRINTED RIBBON TUTORIAL AND A GIVEAWAY!

Here's a fun little tutorial for personalizing your own ribbons.  These would be pretty tied around a bouquet of flowers or a gift for a special friend.  The first time, we made our own ribbons out of torn strips of white linen.  Just tear strips about 1" wide (or whatever size you need to fit the stamp you're using), pull off the loose threads, and start stamping.  I used permanent black ink for mine but this ink comes in lots of colors. These linen ribbons were wrapped around the tags (shown below) we put at each place, the night of our craft get-together in McKinney.  We wrapped a fabric rose out of the same linen to decorate the tags.

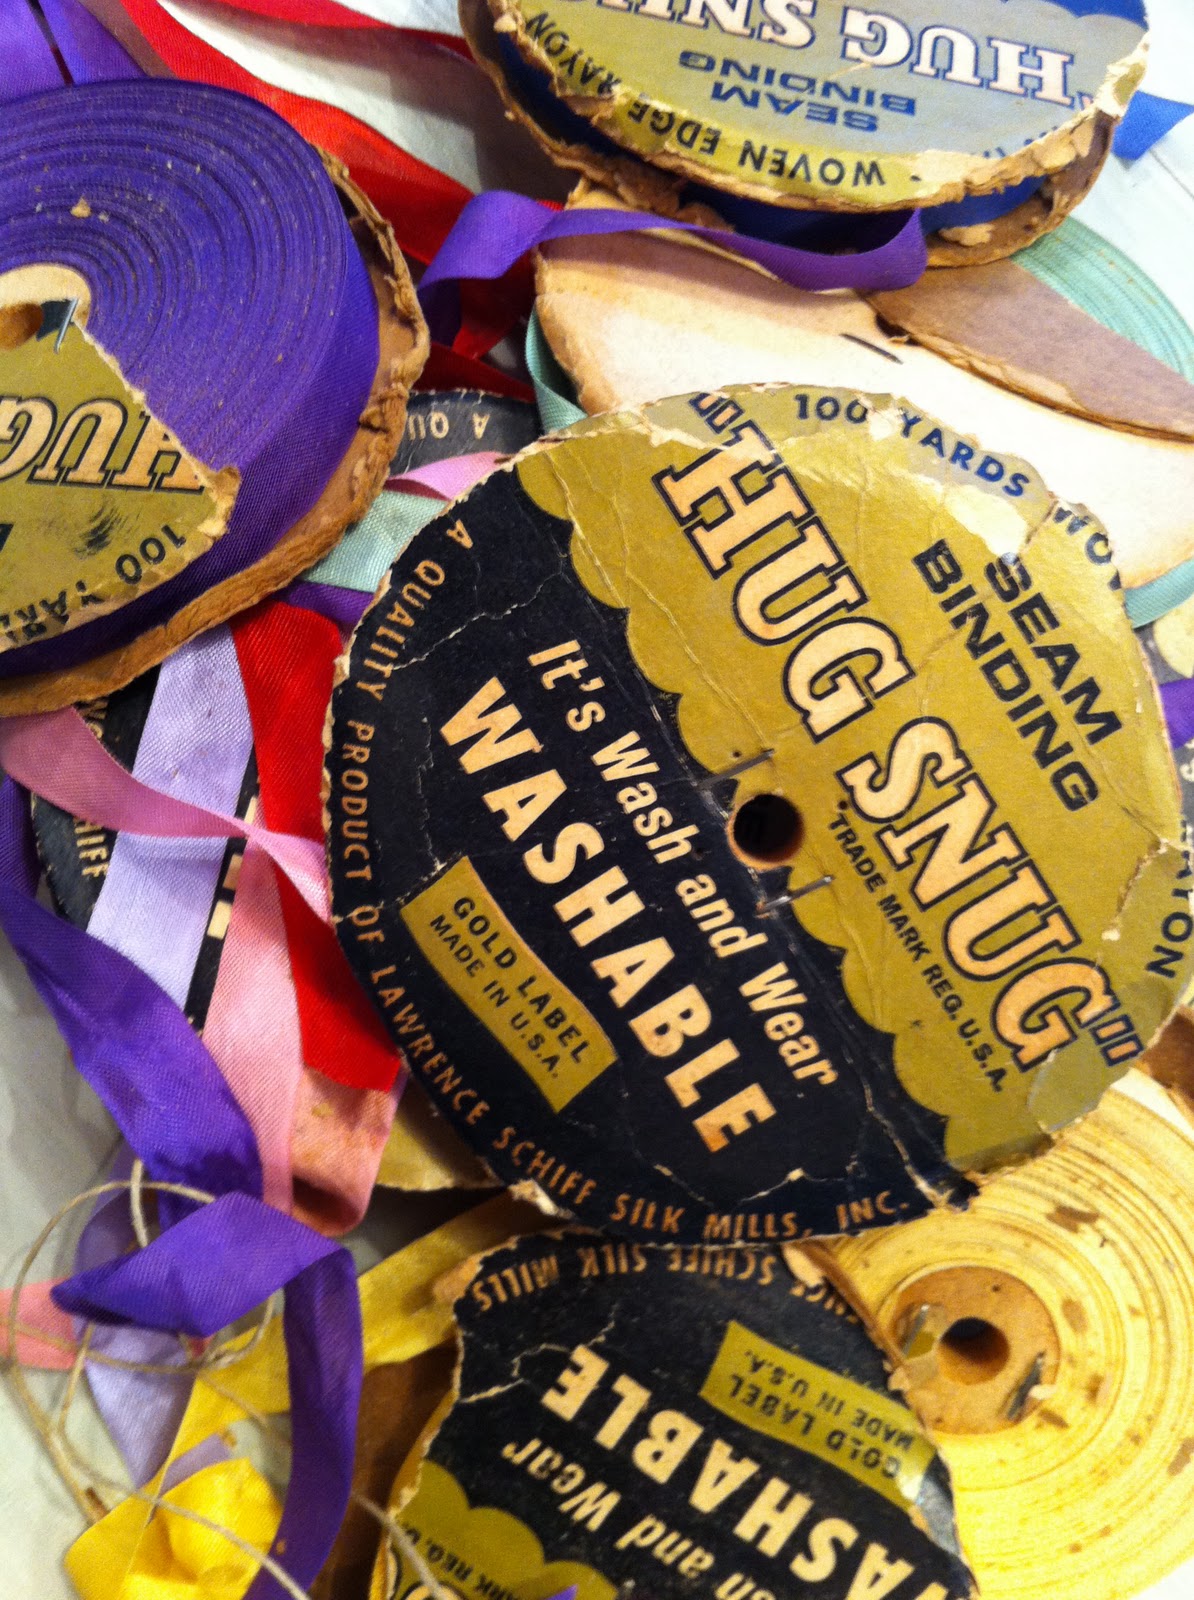
Then we moved on to printing on some vintage ribbons.  These came from a bundle Jan found at an estate sale recently.  She got the whole bag for only $1!!!  What a great find! 
    
 There were tons of colors and the brand, "HugSnug", is still around today. 
 
We printed on some pale blue . . .

red . . .
and cream.

So, once you have the materials, there's nothing to it.  You need:
*ribbon (I think vintage is the best), or torn linen strips
*a permanent ink stamp pad
and
*a stamp with a phrase that will fit on standard 5/8" seam binding ribbon or your ribbon of choice

Just roll out the ribbon and start stamping.  You'll want to line up the stamp to the center of the ribbon, of course.  Don't press too hard or the edges of the stamp will come off on the ribbon too.  It's good to practice a bit on scraps first.  Give it a try!  There are so many great stamps out there - you can make ribbons for every occasion.

You can give the ribbons as a gift - just wrap your stamped ribbons around a vintage postcard from Karen, at The Graphics Fairy and your friends can use them for their own projects.  Or wrap it around a bouquet of flowers.

NOW FOR THE GIVEAWAY!
Expired!!!  Come back for the next one soon!
(International friends - this is for you too!  This will be a very 
light package to ship, so please "follow" and enter!)
These ribbons are so pretty I wanted to share them with a couple followers.  On February 14th, using random.org, I'll choose 2 winners.  Each winner will receive approximately 3 yards of stamped ribbon (either seam binding "ribbon" or fabric "ribbon") wrapped around a bundle of 5 Valentine "Hare" gift tags . . .
This tag is on brown craft paper card stock and printed with the "HARE Dictionary Page" from the Graphics Fairy.
Here are the tags without the ribbon.  They're large (about 3 x 6 inches) and the back is blank, so it's ready for your written sentiments.

The winners will also receive this paper heart swag made with antique book pages,
and . . .
a little something extra!  

Just a little something, but it will remain a secret until the winners open their packages!  Here are the rules to enter:

Just leave a comment on this blog post letting me know you are a follower of You Could Make That.

OPTIONAL extra entries - do any or all!
1.  Mention my giveaway on one of your blog posts
2.  Do a whole post about my giveaway on your blog.
(The button on the top sidebar is there for you to use.)
3.  Mention the giveaway on your Facebook page with a link back to this post.

Just leave me separate comments for each extra entry.  That's 2 winners and 4 different ways to win.

REMEMBER!  If you are an anonymous user or have a private profile, please include your email address in your comment so I can contact you if you win!  Or you could email your email address to me if you'd rather stay private.

That's it!  So easy!

Just a little way to say thank you for all of your kind comments and encouragement along the way.   From California to South Africa . . . it's been fun to get to know you through your emails and your comments over my first year of blogging!  I hope to see some familiar "faces" in the entries!


Sharing on:
Transformation Thursday
Strut Your Stuff
Time Travel Thursday
Show and Tell Friday
Creative Bloggers Party
Craft-O-Maniac
Wow Us Wednesday
Flaunt It Friday
Sister Sunday
Metamorphosis Monday

all crafts Homemade Projects ~ Add Yours! {2/7}


ANOTHER VALENTINE BANNER

While in McKinney, we also dug up Jan's old paper hearts to make a banner for her kitchen window.  Again, we just used some hot glue to adhere them to a length of jute.  We added a few single thickness paper hearts, in a smaller size, to balance it out.  
Look for great pages from old children's books and the heart is already decorated for you.

A burlap heart wearing a tutu with buttons, like this one from "My Favorite Room", would look good on a banner too.
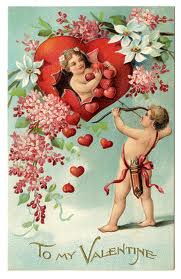
Or print and cut out some Valentine postcards from the Graphics Fairy.  These are just a few of the many Valentine graphics you can find there.  Wouldn't these look great on a banner, interspersed with some paper hearts?
I'd love to see what you come up with!


LinkWithin

Related Posts Plugin for WordPress, Blogger...