Showing posts with label insect jars. Show all posts

Wednesday, October 12, 2011

SPOOKY JARS

There's a full moon tonight . . . 
which makes it a perfect night to do some Halloween projects.  
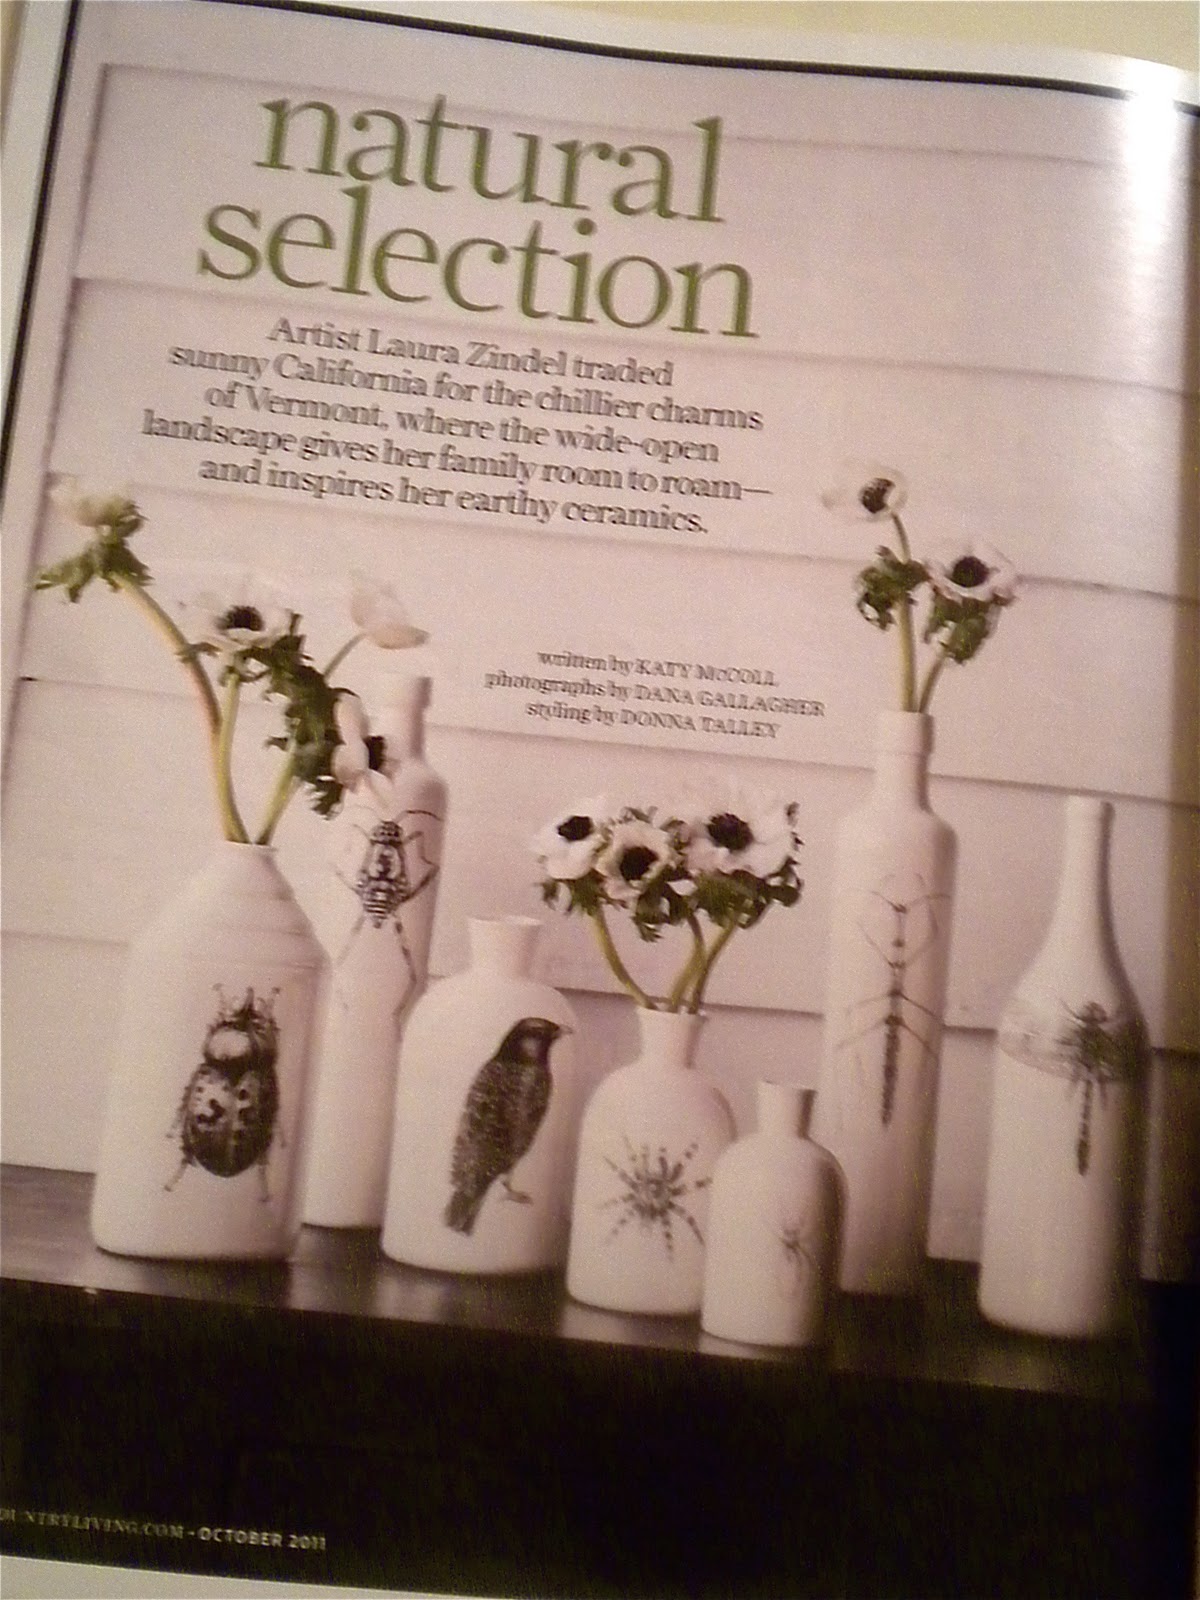
A wonderful group of friends came over tonight.  Normally this group of women arrive with a book in tow, ready to discuss our latest choice for book club.  But tonight they came armed with printed pictures from the Graphics Fairy, excited to make their own version of the dishes found in the latest issue of Country Living.  Some of those photos from Country Living are shown below.  I also blogged about these unusual dishes in late September, hereDinnerware Set: Insects
       

Set of 3 Jars: Spider & Insects
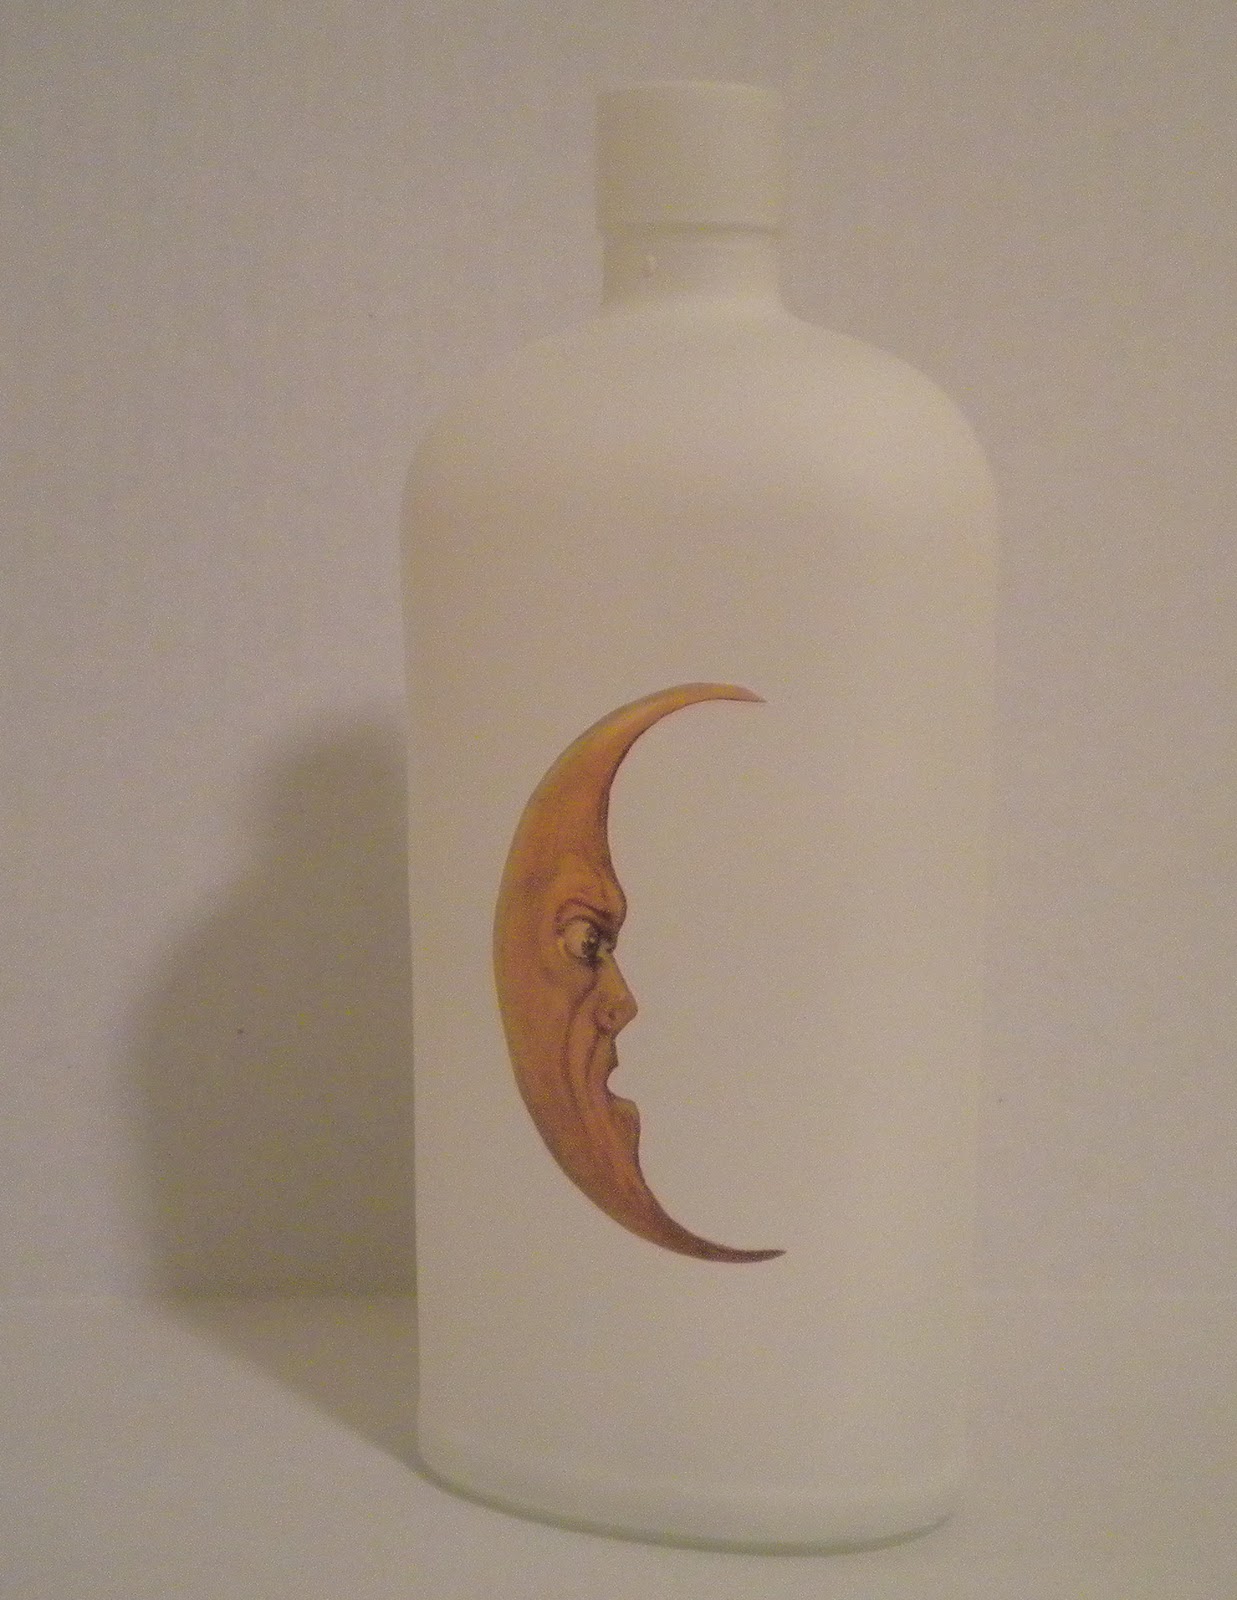
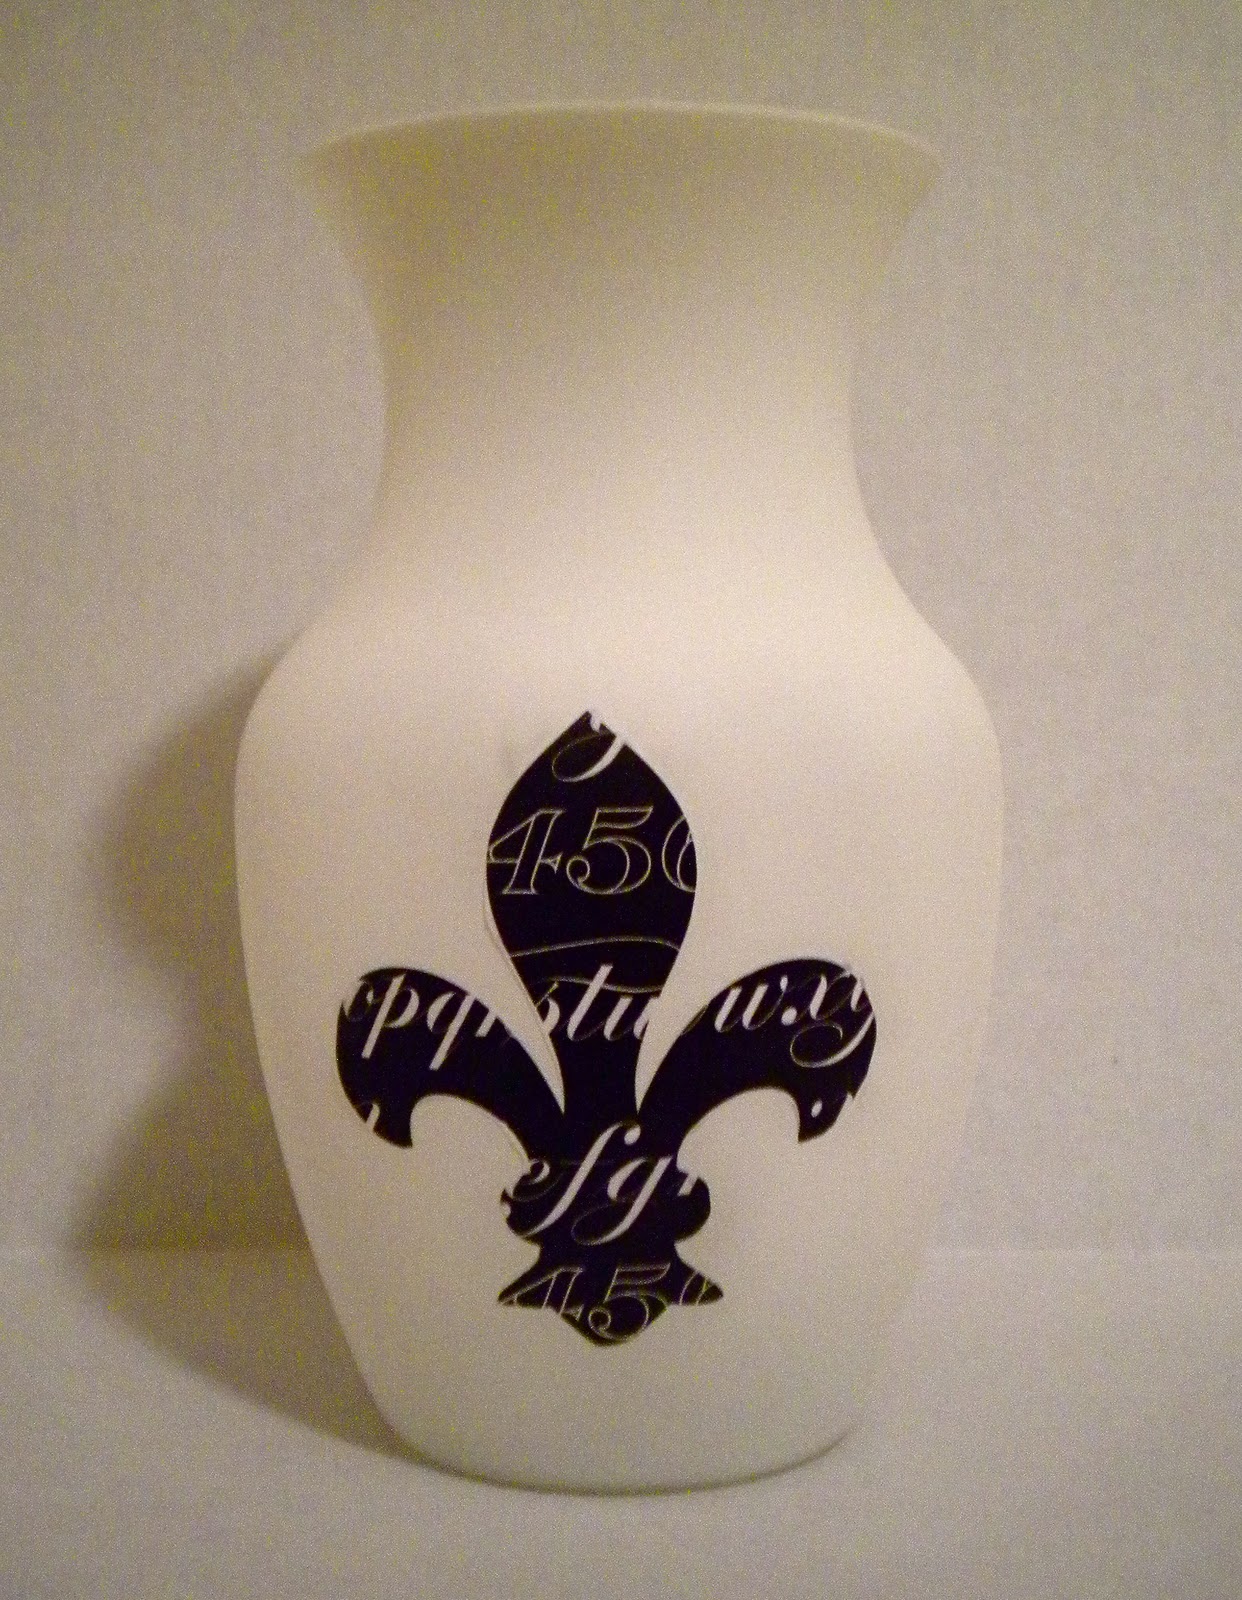
So, here's a look at what the girls came up with for their own little Halloween displays.  Their jars, bottles, and vases came from Goodwill, rummage sales, and one even came from the liquor cabinet!  I think they turned out great!
Below is the jar I decorated with a tarantula from the Graphics Fairy. 
 It now sits on my mantel with some other creepy fare, all ready for Halloween.  Well, almost ready.  I still need a few finishing touches, like spiders coming out of the top of the jar.  Fake spiders, that is!  On October 23rd, this jar, and all the other spooky items on my mantel, will be featured as a guest blog post at:
PocketFullofPink

She is posting Fall and Halloween ideas all month long.  You should go and visit!


Sunday, September 18, 2011

INSECT JAR - TRIAL RUN #1

  Before the girls arrive for a night of creepy creativity, I thought it would be a good idea to have a trial run.   So, first of all, here is another look at my model right out of the October issue of Country Living Magazine:


 I tried out a "Spider Jar" using a clear glass bottle with a clear glass stopper.  This is the perfect jar for this project and it came from Goodwill for only $1.99.   This jar is about 12" tall and 5" wide.
 I want to try doing this project two ways - painting the inside for one piece, and the outside of another. Tonight I'm working on one that is clear glass, so it will be painted on the inside.  It's a perfect jar for this because the stopper is partially hollow.  If it was solid glass you''d have nowhere to put the paint but on the outside.  Remember to check for that when you're out looking.  I've often thought that a certain cake plate or candy jar would be good, but the stem would never get any "inside" paint.
 So I put several tablespoons of white acrylic paint in the jar, added about the same amount of water, and blended it all with a long brush.  Then, I rolled the jar around in my hand to cover the whole inside.  You may need two coats depending on how much water you use.  I think one coat will do for mine.
Then, do the same thing with the stopper.  Any paint that gets on the outside of the stopper or jar can be washed off after it dries.

Then for the spider graphic!  I got this great taratula off the Graphics Fairy here


  I sent it to the printer after decreasing the size a bit.  As you can see above, 100% it was WAY too big - it filled the page and my jar isn't that big.


But, 60% was just right.


Then, cut it out as close to the hairy legs as possible, since you don't want too much of the white printer paper to be showing. 


Ideally, none would show, but good luck with that!   Then I attached the spider to the jar using an Elmers Glue Stick.

So, after spraying with gloss polyurethane, it goes under a cloche for now.  I'll wait until the inside is completely dry to put the lid on.

I can't wait to add more, but right now, I hear Norma calling!

Sharing this on the
and
White Wednesday
and
The Lettered Cottage


LinkWithin

Related Posts Plugin for WordPress, Blogger...