A dozen roses arrived the other day.
Out of the blue and "just because"!
So sweet!
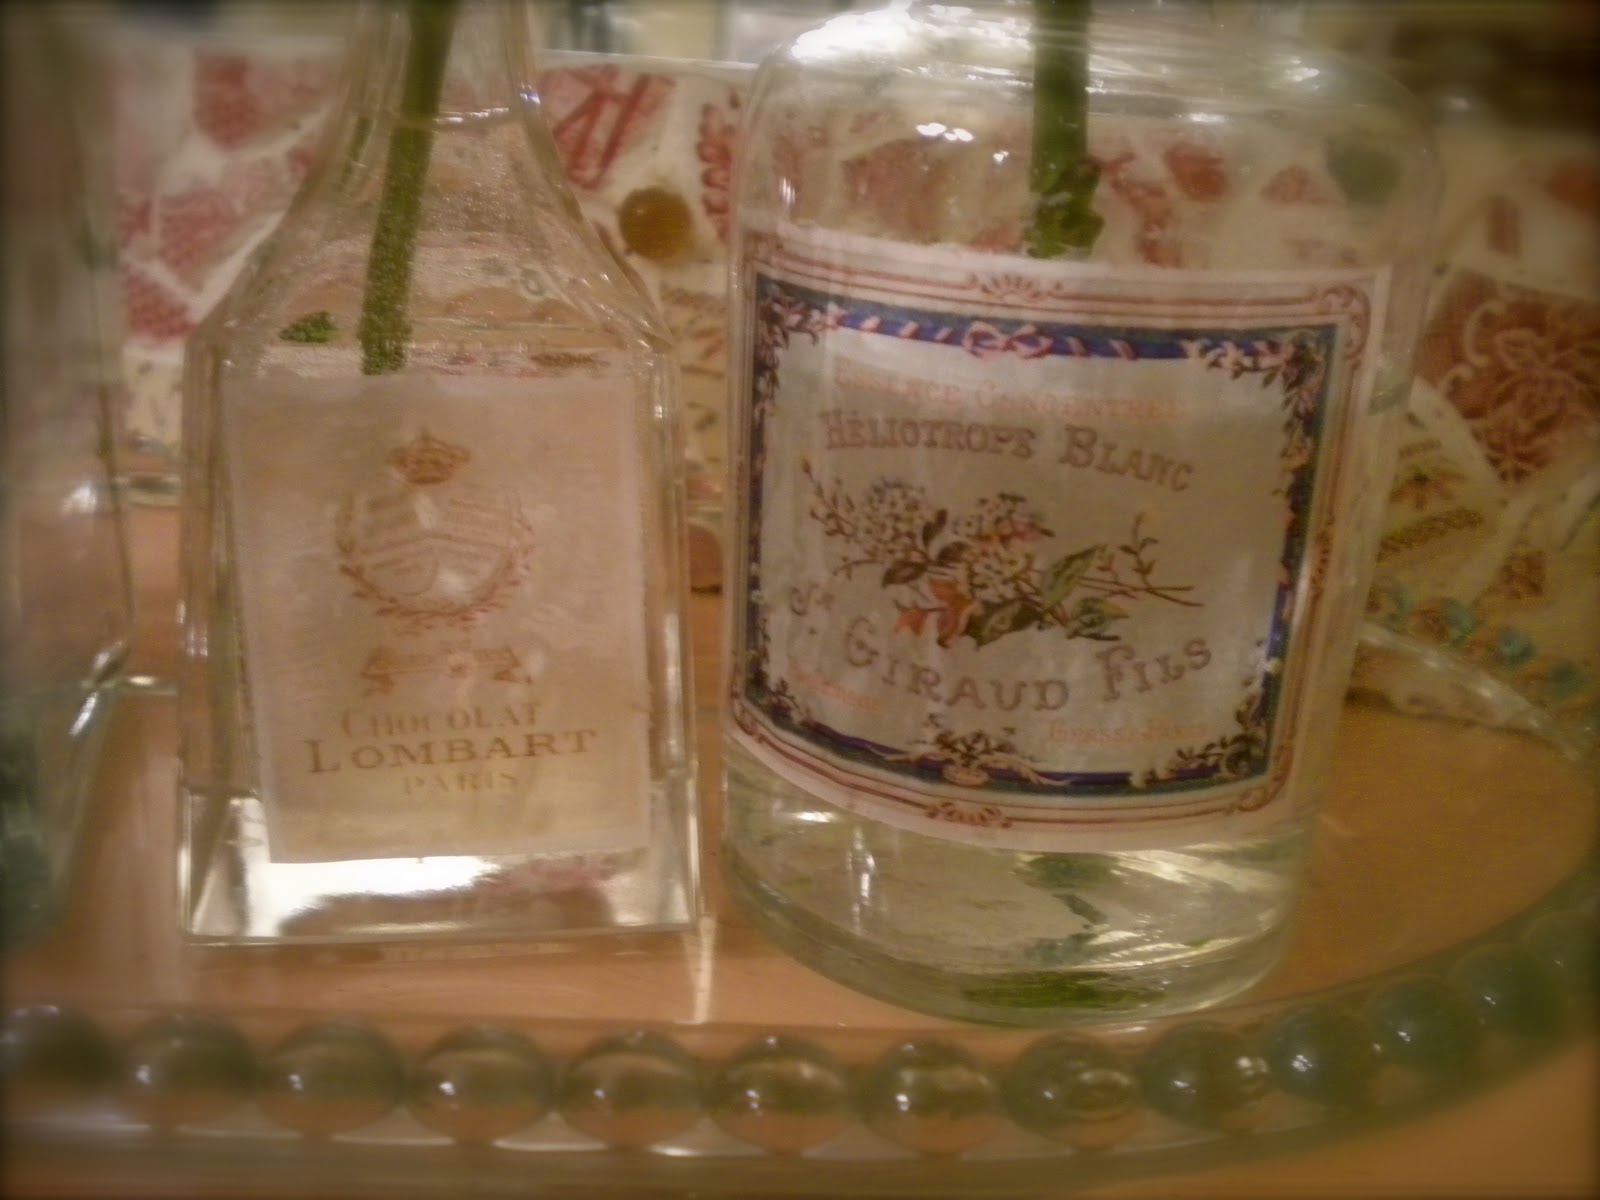
So I started rummaging through my vases and didn't really find what I was looking for. A few posts ago, I made the French Cache Pot with a label from the Graphics Fairy. But I gave that pot/vase away, and I was thinking how pretty these flowers would look in something similar. So I went back to look at more labels on the Graphics Fairy and found a few that were perfect. Then, I went out to look for some trumpet shaped vases and found several of them at the thrift shop (for $1.99 each)!
A little spray paint, some Tacky Glue, a shot of Matte Acrylic Spray, and I had exactly what I was looking for. Since the Graphics Fairy has labels and clip art to go along with absolutely anything, you can make vases to go with any holiday! Just look for vases that have either flat or smooth round sides that will hold the labels you like. Remember, you can resize the labels before you print them so that they're just right for your container. The clip art from her site remains clear and crisp, even when the image is enlarged to the size of an 8 1/2 x 11 piece of cardstock.
So, once you have your ceramic container painted, print out your clip art onto card stock. You can adjust the size of the clip art printout before you print. I brought mine down to 70% because the design would have gone too far around my vases if left at 100%. Then carefully cut around the image. Evenly spread some Tacky Glue all over the back and smooth it in place on the container. When it's dry, I like to rub the container all over with Old English Scratch cover for an aging effect. But it looks great without the antiquing also. Then a little Matte Acrylic Spray and it will be sealed against water damage and wear and tear.
So sweet!
So I started rummaging through my vases and didn't really find what I was looking for. A few posts ago, I made the French Cache Pot with a label from the Graphics Fairy. But I gave that pot/vase away, and I was thinking how pretty these flowers would look in something similar. So I went back to look at more labels on the Graphics Fairy and found a few that were perfect. Then, I went out to look for some trumpet shaped vases and found several of them at the thrift shop (for $1.99 each)!
A little spray paint, some Tacky Glue, a shot of Matte Acrylic Spray, and I had exactly what I was looking for. Since the Graphics Fairy has labels and clip art to go along with absolutely anything, you can make vases to go with any holiday! Just look for vases that have either flat or smooth round sides that will hold the labels you like. Remember, you can resize the labels before you print them so that they're just right for your container. The clip art from her site remains clear and crisp, even when the image is enlarged to the size of an 8 1/2 x 11 piece of cardstock.
 |
| I love this owl and he would look great on a Halloween container. Use a clear glass or ceramic container and fill it with chocolate pretzel rods or some other Halloween treat. |
 |
| This would look nice on a Thanksgiving container holding rustic colored mums. |
 |
| Beautiful little rabbit print would be perfect decoupaged on a small square of plywood and attached to an Easter basket. |
 |
| Valentine's Day, of course! |
 |
| I love this patriotic label. I'd attach it to a metal container filled with red licorice or American flags on a Fourth of July picnic table. |
So, once you have your ceramic container painted, print out your clip art onto card stock. You can adjust the size of the clip art printout before you print. I brought mine down to 70% because the design would have gone too far around my vases if left at 100%. Then carefully cut around the image. Evenly spread some Tacky Glue all over the back and smooth it in place on the container. When it's dry, I like to rub the container all over with Old English Scratch cover for an aging effect. But it looks great without the antiquing also. Then a little Matte Acrylic Spray and it will be sealed against water damage and wear and tear.

One for my mom who loves all things blue and white!

My beautiful roses.


A vase for Easter with this sweet label from the Graphics Fairy

And, finally, a pretty little nest and bird label for a spring bouquet. It won't be long and we'll be looking at seed catalogs and planning our summer gardens. I'm looking forward to filling up lots of vases with my own garden flowers!
From green glazed Goodwill find, to one-of-a-kind vase!


Sharing this post on:

and