Showing posts with label Christmas ornaments. Show all posts

Wednesday, December 14, 2011

A NIGHT MAKING ORNAMENTS

We had such a fun time making ornaments last night.  I figured it would be a rather quiet evening, with everyone concentrating on making just the right folds etc.    You know . . . Christmas music playing softly in the background . . .  people nibbling on cookies here and there as they busily, quietly, and thoughtfully worked on their creations.   Well, not so!  It was one of the most laughter invoking, disorderly evenings I've had in a long time!    If this had been my classroom - a few people would have had to have a SEVERAL time-outs, or even a trip to the principal's office.  But when the principal is one of the culprits, what can you do?  

No one wanted their faces shown in the pictures.  Imagine that.  But, here's the workspace!
Add a ton of glitter and you get the idea . . . 

 So, here's a run-down of the spoils of the evening.  It's fairly self-explanatory, so I'll just show photos of the steps and then let the pictures do the talking.  The great graphics came from The Graphics Fairy,
of course!
Ornament #1

Ornament #2
Ornament #3
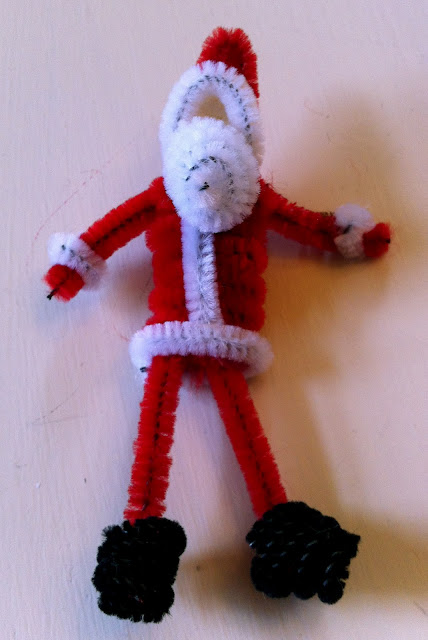
Santa Claus How-To1. Fold a 4-inch stick of puffy red chenille inside a 7-inch one. Tuck in a 1 1/2-inch piece of wooden stick for a face. About a third of the way down, twist a 4-inch chenille stick once around to make arms; wrap torso with a 10-inch stick.
2. For the feet, loosely wrap narrow black chenille stick around a pair of needle-nose pliers, then shape coil into boots. Use bits of white pipe cleaner and white craft glue to add the details to his suit. A cotton ball supplies his beard and hat.

Ornament #4
Snowman How-To1. Fold a standard pipe cleaner in half. Slide a wooden bead over the fold for a head, leaving a loop at the top. For the arms, twist a 3-inch pipe cleaner once under the bead; then wind a full pipe cleaner around the torso, below the arms.
2. Shape the hat from a 6-inch strip of narrow black chenille that has been wrapped around a pencil.
3. Use hot glue to attach wire-tinsel skates; crimp up the feet for the best bond. Draw in a face with a felt-tip pen. Add a cane and a striped chenille scarf, and off he glides.

The last one was the favorite of everyone.  The Anthropologie inspired Book Page Christmas Tree.
The base of the tree was made from a spool and a wooden skewer.  This was hot glued onto a disk of cardboard for stability.  We glued a strip of glittery pipe cleaner around the edge to frame the base.  Then, of course, lots of glitter on the base.  
Lots.  Of.  Glitter.Then one by one pull the graduated squares onto the skewer, leaving a little space between each square.And there you have it!  It was a busy night (with lots of off-task time) but everyone went home with five ornaments!  Thank you ladies, for your participation!


Monday, December 5, 2011

MAKING CHRISTMAS ORNAMENTS

Trees are going up and the ornaments are coming out.  Along with all the decorating, I'm getting ready for another craft night with friends.  This time we're going to be putting together several ornaments - because you can never really have too many ornaments!  Here's a little preview of what's being planned:
Glittered Star
 (minus creepy looking lady in the middle)
Victorian Chenille Angels
7" Felted Christmas Tree

Paper Ball with Script
Santa Music Ornament

So, next week, one of my posts will show you the results of a fun night getting ready for Christmas with some good friends.   There will be photos and tutorials showing how to make each one, so come back to see our handiwork!


Saturday, December 3, 2011

MONCHES AT CHRISTMAS

It was a relatively warm December day here in SE Wisconsin, rainy and sloppy.  It really didn't seem much like Christmastime but we fixed that with a trip out to Monches Farm's Holiday Open House.  It was jammed!  They had hot apple cider, cheese and crackers, a fire pit all ablaze, and Christmas trees.  But, as usual, best of all was the shop filled to the brim with decorated trees and other Christmas decor.  

I'm planning a craft night with my book group friends and got some great ideas.  Here are some pictures from the day - enjoy!
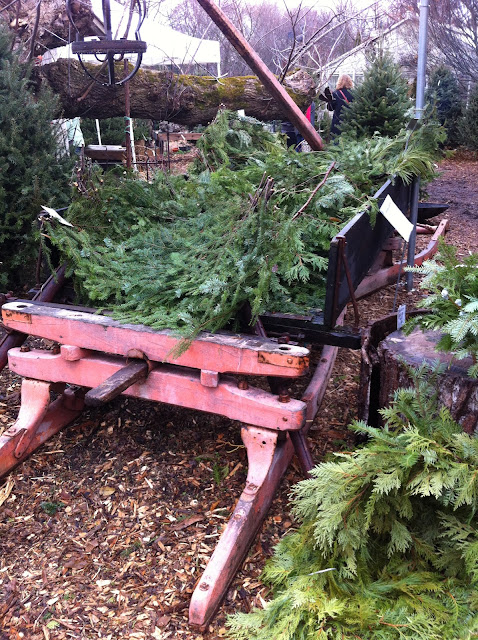
 The greens are nice, but the sled they're sitting on is beautiful!
My Santos Cage Doll needs some holiday bling!
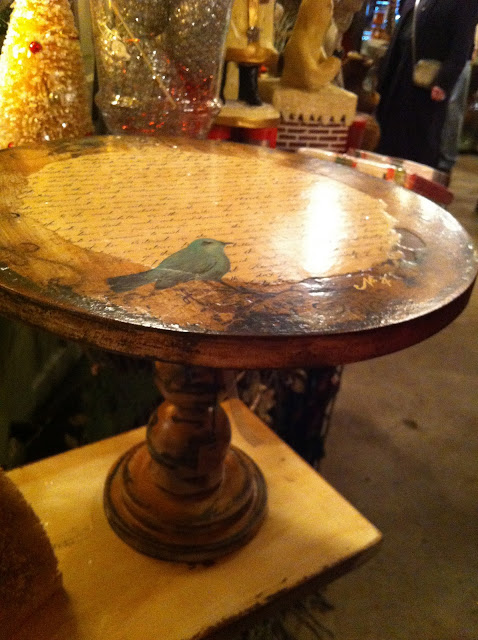
A wooden candlestick, round wooden disc, and some decoupaged script and pictures?  Great idea for a  cake plate or cupcake server, and pretty easy to make. 
 A HUGE garden fairy!
Hot apple cider inside!

These last photos show some great craft night possibilities!
Sheet music flower ornaments.
A owl encased in a glass ball.  It could be made as a snow globe . . .
An old-fashioned pine cone snowman.
The photo doesn't do this ornament justice, but it looked like a jewelry box decoupaged with some antique clip art.  I'm sure the Graphics Fairy has some old postcards that would work well.
Martha Stewart has patterns and instructions for similar houses on her website.
More Graphics Fairy clip art with some glittered details?

I'm looking forward to getting back out to Monches next spring.  But for now, I have some decorating and crafting to do!  
There are only 22 days until Christmas!


LinkWithin

Related Posts Plugin for WordPress, Blogger...